Today, I wanted to try something different, something crafty. I decided to make a wall ring, you know, those decorative things you hang up. I had seen some cool ones online, but I thought, “Why not make my own?”

Gathering Supplies
First things first, I needed to get my materials together. I grabbed:
- A metal hoop: I found an old one lying around in the garage. You can use any size, depending on how big you want your wall ring to be.
- Some yarn: I picked out a few different colors that I thought would look nice together. I love thick, chunky yarn, so I opted for that.
- Scissors: Gotta have these to cut the yarn, obviously.
- Faux flowers and greenery: I raided my craft box for some artificial flowers and leaves. You could use real ones, but they won’t last as long.
- Hot glue gun: This is how I planned to stick everything together. You could use other types of glue, but hot glue is fast and easy.
Wrapping the Hoop
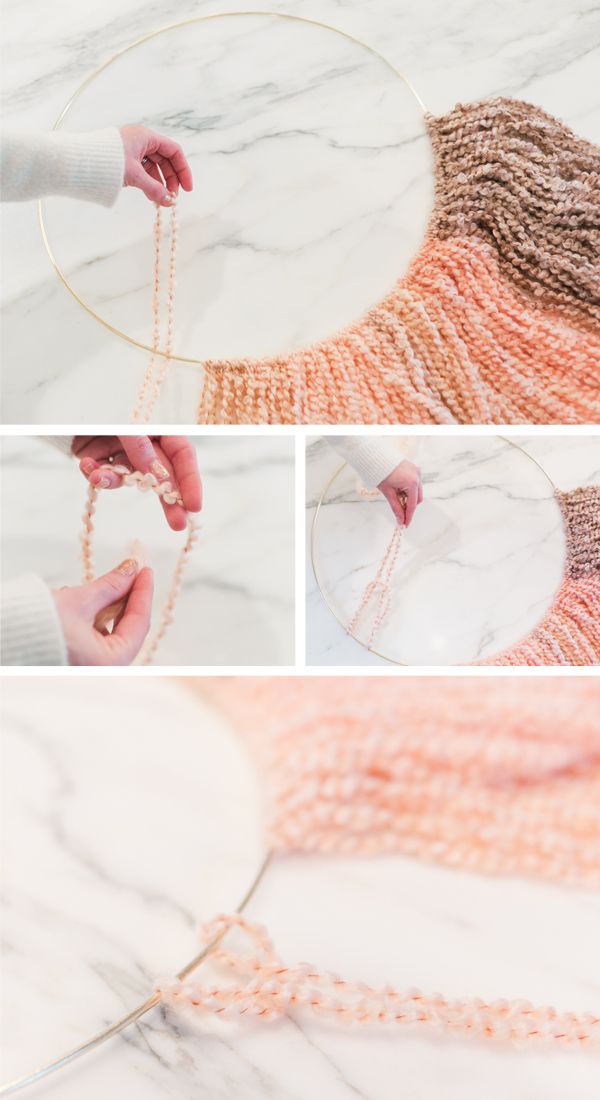
I started by wrapping the metal hoop with yarn. I tied a knot to secure the end and then just started wrapping, wrapping, wrapping, making sure to keep the yarn nice and tight. This part took a little while, but it was kind of relaxing, like knitting but without the needles.
Adding the Decorations
Once the hoop was completely covered, it was time for the fun part – adding the decorations! I started with the greenery, arranging the leaves around the bottom half of the hoop. I used the hot glue gun to stick them down, being careful not to burn myself (I’ve done that before, ouch!).
Then, I added the flowers, placing them strategically among the leaves. I played around with the arrangement until I was happy with how it looked. It’s all about personal preference here, really.
Finishing Touches
After all the flowers and greenery were glued on, I took a step back to admire my handiwork. I decided to add a few extra strands of yarn, letting them hang down from the bottom of the hoop for a more bohemian look.I trimed the yarns so that the length of them looks suitable.

And that’s it! My very own DIY wall ring. It was super easy to make, and it adds a nice touch to my plain wall. It’s not perfect, of course, but I made it myself, and that’s what matters. Might try making another one with different colors and flowers soon!


