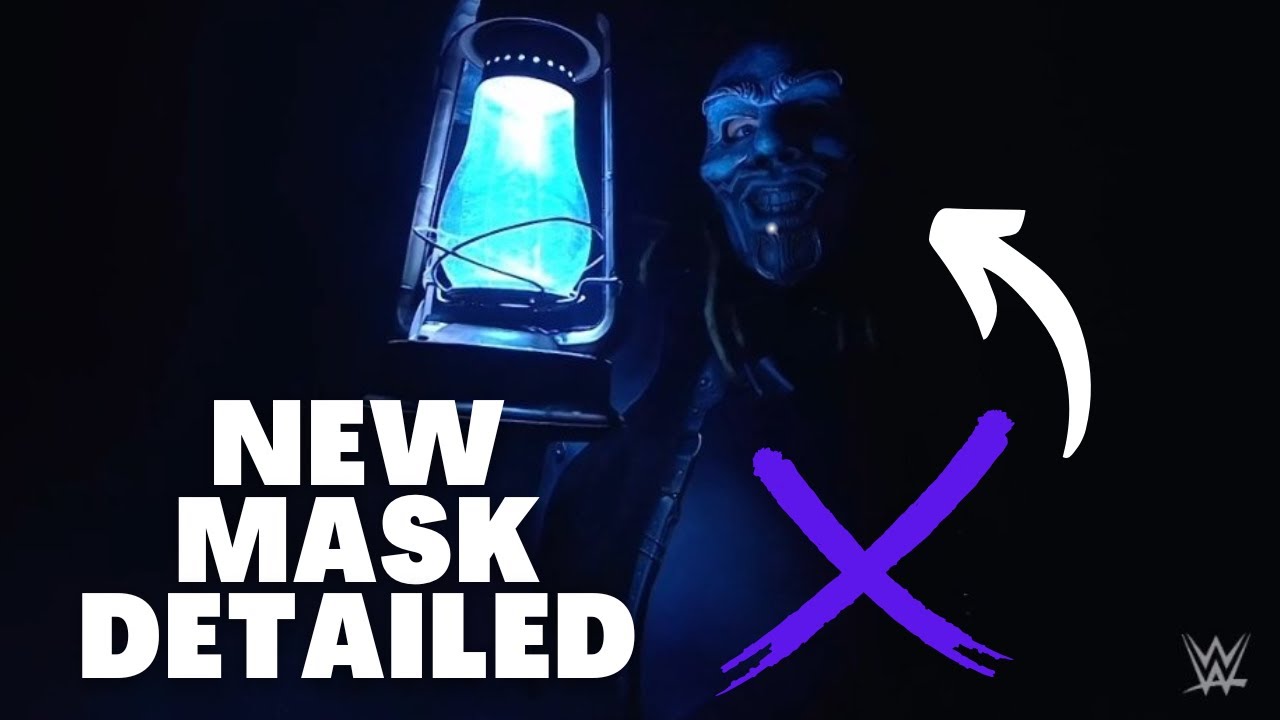
Okay, so I’ve been a huge wrestling fan since I was a kid, and Bray Wyatt? The Fiend? Absolute genius. When I saw he was coming back at Extreme Rules, and that mask… I knew I had to try and make one myself. I’m no prop master, but I’m pretty crafty, so I figured, why not?

Getting Started
First, I scoured the internet for images. I needed every angle I could get of that mask. Screenshots, fan photos, anything. I printed out a bunch of them and stuck them all over my workspace. It looked like a crazy person’s lair, but hey, it worked.
The Base
I decided to go with a simple paper mache base. I blew up a balloon to roughly the size of my head (maybe a bit bigger, gotta account for padding later). Then, it was the messy part. I mixed up a big batch of flour and water paste – the classic, cheap way to do it. I tore up a ton of newspaper strips and started layering them onto the balloon. It took a few coats, letting each one dry in between. Patience is key here, which is tough for me.
Shaping the Features
Once the base was solid, I popped the balloon. Now came the fun part – sculpting! I used more paper mache, but this time with thicker strips and more paste, to build up the basic shapes of the mask: the brow, the cheeks, that creepy stretched-out mouth. It looked rough, but I knew I could refine it later.
- Added crumpled paper and tape to build larger forms.
- Used cardboard for sharper edges like the teeth.
- Constantly checked my reference photos.
Refining and Detailing
After the major shapes were there, I switched to using air-dry clay. This stuff is great for getting those finer details. I smoothed out the rough patches, defined the wrinkles and creases, and made those teeth look extra sharp and menacing. This part took the longest, lots of tweaking and sanding once the clay dried.
Painting and Finishing Touches
Once I was happy with the sculpt, it was time to paint. I started with a base coat of off-white, kind of a bone color. Then, I used a combination of washes and dry brushing to add depth and that weathered, dirty look. I mixed browns, grays, and even a little bit of black to get the right effect. The eyes were tricky – I wanted that eerie glow, so I used a brighter white and then went over it with a very thin layer of yellow.
The last thing add some elastic straps to the back so I could actually wear the thing.
The Final Result
Honestly, it turned out way better than I expected! It’s not perfect, but it definitely captures the creepiness of The Fiend’s mask. It’s not an exact replica. I was putting on to my face and looking into the mirror, it really gave me the vibe of the Fiend. Putting it on made me want to Sister Abigail someone (just kidding… mostly). It was a fun project, and now I’ve got a pretty awesome mask to show for it.
Maybe I use to join the next Extreme Rule. who knows?